
How to Pick the Perfect MidJourney Aspect Ratio for Your Projects
When you’re working on a MidJourney project, the Midjourney aspect ratio can make or break your results.
It’s not just about dimensions; it’s about the width to height ratio and how your visuals come to life.
The right aspect ratio determines how your composition feels and how your audience perceives it.
Whether you’re creating square images for balance or widescreen scenes for drama, picking the best one ensures your final output matches your vision.
Let’s make it simple and practical so you can choose confidently, controlling focus and emotion.
Understanding Aspect Ratios
Choosing the right aspect ratio is key to achieving the desired look for your MidJourney projects. It’s more than just numbers; it’s about how proportions influence the feel and focus of your art.
Here’s a deeper look at what aspect ratios really are and the most common formats you’ll encounter.
What is an Aspect Ratio?
An aspect ratio is simply the relationship between an image’s width and height. It’s usually expressed as two numbers separated by a colon, like 16:9 or 4:3—whole numbers for the aspect ratio that define its basic structure.
Think of it as the “shape” of your canvas. For example, a square image has an aspect ratio of 1:1 because the width and height are the same.
So, why does this matter? The aspect ratio determines how your image composition works within a frame. A wider ratio, such as 16:9, feels more cinematic, while a narrower one, like 4:3, can feel more compact and intimate. When you’re tweaking your MidJourney project, this choice steers the overall visual impact.
Commonly Used MidJourney Ratios
Not all aspect ratios are created equal. Depending on your goals, you’ll find some ratios are more commonly used in digital art and design. Let’s explore a few of the most popular:
- 1:1 aspect ratio – Perfectly square, this ratio is often used for social media posts on platforms like Instagram. It’s balanced, clean, and easy on the eyes.
- 4:3 aspect ratio – A classic choice for traditional photography and older displays. It works well for focused, tighter compositions.
- 16:9 aspect ratio – The go-to format for widescreen visuals. This one screams cinematic flair and is ideal for landscapes or dramatic MidJourney scenes.
- 3:2 (or its inverse 2:3 aspect ratio) – Often used in photography, this ratio feels natural and harmonious for portraits or creative art prints.
- 2:1 – A panoramic option that emphasizes width, making it suitable for landscapes or poster designs.
When you’re working on MidJourney projects, knowing these standards gives you a solid starting point.
Experiment with different aspect ratios, but remember each one carries unique strengths and limitations.
Why Aspect Ratio is Important in MidJourney
The Midjourney aspect ratio is much more than a technical decision when working on your projects—it’s a storytelling tool. Whether you’re aiming for an intimate close-up or a sweeping panorama, aspect ratio shapes how your audience interacts with your work. Let’s break it down further.
Impact on Composition
Think of the aspect ratio as the frame that holds your story in place. Different ratios dramatically change how your image composition comes across. For instance, a 1:1 ratio focuses on symmetry and balance, making it a favorite for up-close shots or minimalist designs. On the other hand, a wider ratio like 16:9 in landscape orientation brings out depth and drama, perfect for expansive landscapes or cinematic scenes.
Imagine creating an intricate portrait. A narrow aspect ratio, such as 4:3, keeps the viewer’s eyes on the subject without unnecessary distractions. Contrast that with a 2:1 ratio, which stretches the canvas and opens up space for extra elements like background storytelling. The result? The composition adapts to the message you want to send.
Want more insights on how to use aspect ratios to perfect your compositions? This comprehensive guide on aspect ratio in photography provides step-by-step details.
Control the Visual Narrative
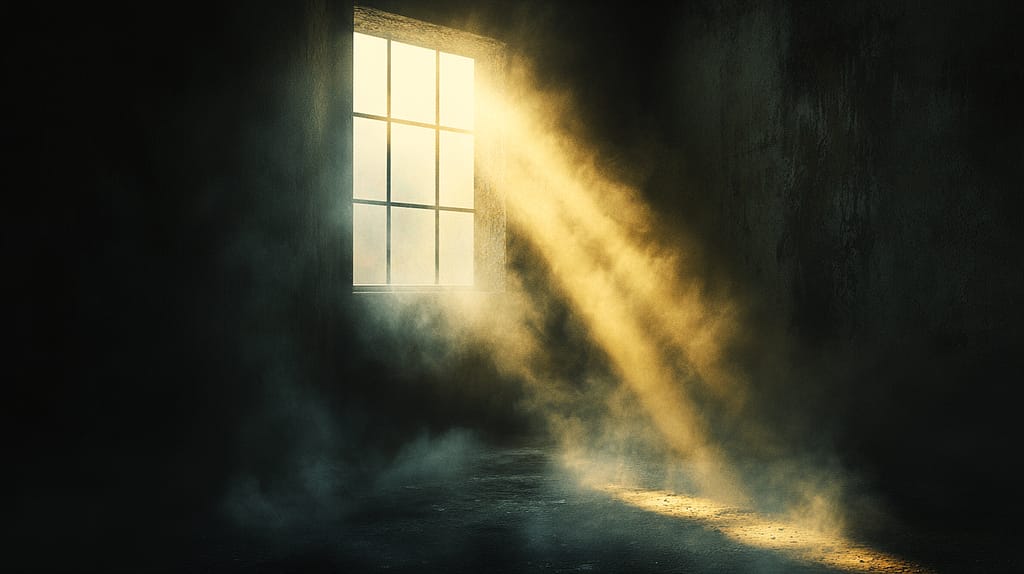
The aspect ratio isn’t just about fitting everything into the frame. It’s about guiding the viewer’s experience. A vertical ratio like 9:16 in portrait orientation locks the eye into a focused, single-subject view—a favorite for social media stories and portrait photography. Conversely, a horizontal 16:9 layout guides the eye smoothly across the canvas, perfect for scenarios where the background plays a key role.
Think of it this way: the ratio is like an arrow pointing where the audience should look first. A square frame (1:1) highlights the subject without bias, keeping all elements equally weighted. In contrast, panoramic dimensions let the viewer explore the image from one corner to another, creating a sense of movement and discovery.
Curious about how you can orchestrate this effect for your own projects? Check out this resource on how aspect ratios affect composition.
By choosing the right aspect ratio, you’re essentially setting the stage for your story. It’s not just about fitting the image but amplifying its emotional and visual weight.

Photo by Sanket Mishra
Choosing the Right Aspect Ratio for Your Project
Picking the best Midjourney aspect ratio isn’t just a technical step—it’s a creative decision that shapes the impact of your visuals. Whether you’re designing for social platforms, creating cinematic scenes, or experimenting with new styles, understanding what works best for your specific needs is crucial. Let’s break it down.
Identify Your Content Type: Different content types may benefit from distinct aspect ratios
Every project has its unique demands. Whether you’re working on a landscape, portrait, or a detailed abstract, the type of content largely determines the ideal aspect ratio.
- Square compositions (1:1) lend themselves well to Instagram posts where symmetry and balance catch attention quickly.
- Widescreen formats (16:9) are perfect for cinematic cityscapes or panoramic landscapes that tell expansive stories.
- Vertical formats (9:16 aspect ratio) shine for mobile devices like Instagram Stories or TikToks, where height is key.
Think about what you’re creating. For instance, a portrait of a person may look its best in a 4:3 aspect ratio to maintain focus without overwhelming the viewer. A scenic countryside might thrive in 2:1, leaving room to emphasize the horizon. Always let the subject guide your choice. Want more insights? Here’s a guide to understanding aspect ratios that dives into how they enhance your content.
Consider the Platform: Different platforms may require different aspect ratios for optimal display
What works on one platform could fail on another. That’s why it’s so important to match your MidJourney aspect ratio to your end destination.
Here’s how to approach it:
- Social Media: Platforms like Instagram favor square or vertical ratios (1:1 or 9:16). Facebook and Twitter perform well with slightly wider layouts like 16:9.
- Web Design or Portfolio: When uploading to personal websites or creative portfolios, consider a 4:3 or 16:9 ratio for a polished look across devices.
- Print and Posters: Go for traditional sizes like 3:2 aspect ratio or 2:1 for printing posters, balancing artistic flair with function.
A quick example: Sharing a horizontal image with a 16:9 ratio on Instagram? It’ll likely crop awkwardly unless you adjust beforehand.
Experiment with Ratios: Encourage readers to try various ratios to see what works best
Here’s the truth: there’s no universal “perfect” ratio. Your best bet is to experiment. Trying different dimensions helps you see what complements your work’s style and tone.
- Create several versions of your project using ratios like 4:3, 16:9, and 2:1.
- Compare how each version feels. Are your subjects framed well? Does the image convey your intended emotion?
- Don’t hesitate to explore lesser-used ratios for creative expression. A 3:4 format might deliver a unique perspective that a standard 1:1 can’t achieve.
Some tools and workflows simplify this trial-and-error process, especially when editing across digital platforms.
Whether you’re aiming for sleek professionalism, bold creativity, or striking storytelling, experimenting with aspect ratios opens new doors. Trust your eye and experiment until you find what feels right for your vision.
Using MidJourney Commands for Aspect Ratios
Aspect ratios aren’t just about fitting images into a frame; they’re a key to storytelling in your MidJourney projects. By tweaking the Midjourney aspect ratio, you can shift focus, enhance drama, or emphasize balance within your visuals. The good news? Changing aspect ratios in MidJourney is straightforward once you know the commands.
Basic Commands Overview: Describe the commands needed to change aspect ratios
The cornerstone of adjusting aspect ratios in MidJourney lies in the “–aspect parameter” or “–ar parameter”. This parameter defines the width-to-height relationship of your image. When used correctly, it allows you to tailor your canvas dimensions to fit the needs of your project.
Here’s how it works:
- Default Setting: MidJourney defaults to the default aspect ratio of 1:1, which creates a perfectly square image.
- Custom Aspect Ratios: To adjust these dimensions, you simply add –ar {width]:[height] to the end of your /imagine prompt.
- Compatibility: Note that newer MidJourney versions, like those supporting V5 aspect ratios, offer a wider range of ratios, while earlier versions may have limitations on the maximum aspect ratio for each model.
For example, a prompt that says: a beautiful beach view with sunset –ar 16:9 produces output ideal for widescreen displays. This flexibility makes it possible to create visuals for social media, banners, or personal art prints with ease.
Want a deeper dive? Visit this guide to MidJourney aspect ratios for detailed insights and additional examples.
Examples of Aspect Ratio Commands: Show examples of common commands to change aspect ratios
Let’s put this into action with practical examples. Whether you’re a beginner or a pro, these commands will help you create the perfect visuals:
- For a Square Image (1:1)
/imagine a minimalist geometric pattern --ar 1:1
Ideal for Instagram posts or symmetrical designs. - For a Landscape Scene (16:9)
/imagine a sunset over a mountain range --ar 16:9
Perfect for cinematic vibes or wide-format storytelling. - For a Portrait Design (3:4)
/imagine a fashion editorial portrait --ar 3:4
This generates a portrait photo generated that’s great for magazine-style images or social media stories. - For a Panoramic View (2:1)
/imagine a sprawling cityscape at night --ar 2:1
Fantastic for banner-worthy visuals and wall art. - For a Narrow Focus (9:16)
/imagine a single blooming orchid in vivid detail --ar 9:16
A favorite for TikTok-friendly or mobile-first content. - For a Balanced Wide Format (7:4)
/imagine an epic fantasy landscape --ar 7:4
Suited for book covers or desktop wallpapers.
Additionally, you can extend your compositions using the pan option after generating an image, which shifts the view while maintaining the aspect ratio. For further adjustments, the zoom out feature serves as a related tool to broaden your scene without altering the core dimensions.
Each of these commands provides a quick way to get started in exploring creative possibilities.
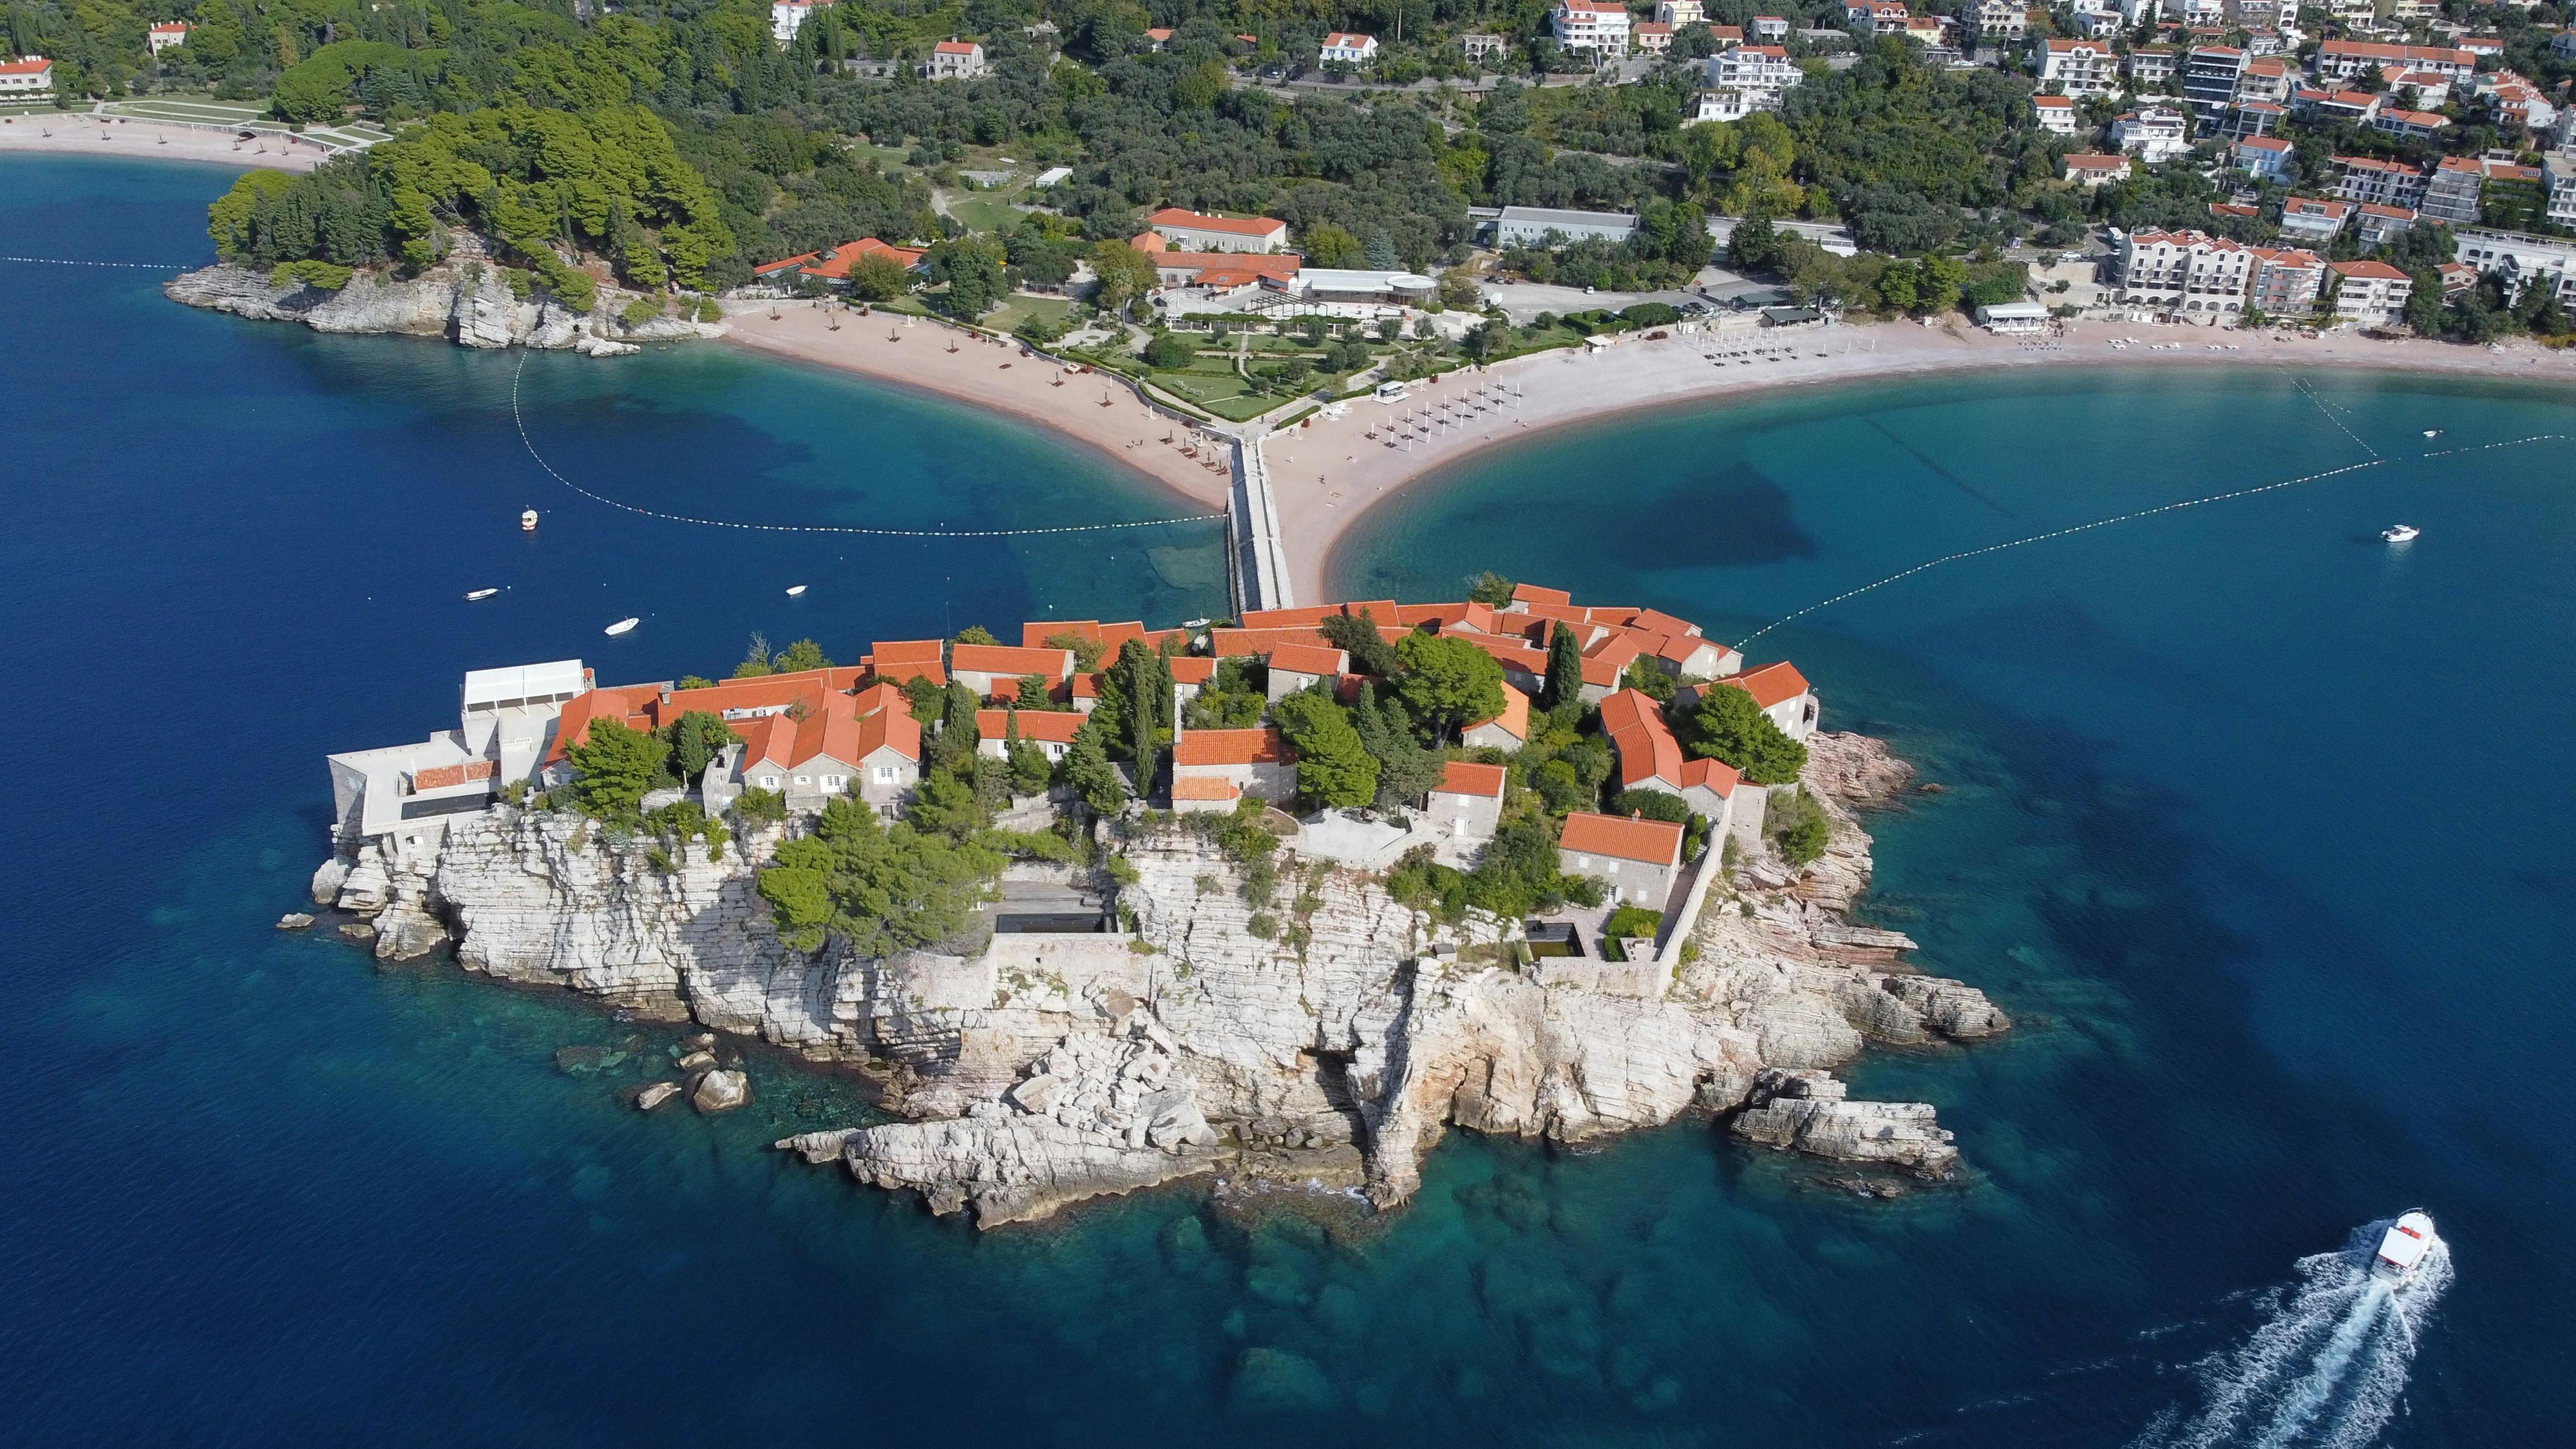
Photo by Julien Goettelmann
Remember, aspect ratio commands aren’t just technical tools—they’re a creative superpower. By controlling dimensions, you’re framing your story exactly how you want it to be seen.
Troubleshooting Common Aspect Ratio Issues
Aspect ratio problems can be frustrating, especially when your creative vision doesn’t align with the final output. Whether you’re seeing stretched images, black bars, or unexpected cropping, knowing how to troubleshoot these common issues is critical. Here’s how you can tackle some of the trickiest challenges.
Image Distortion
Image distortion is one of the most noticeable signs of an incorrectly set aspect ratio. You’ve probably seen this before—stretched or squished visuals that just feel “off.” But why does this happen?
When the proportions of an image are forced to fit a specific frame, the content adapts unnaturally. For example, setting a 16:9 image into a 4:3 aspect ratio will stretch the width or crop essential parts of the photo. The result? Your work loses its intended look and feel.
Here are a few ways to address distortion issues:
- Always check aspect ratio settings upfront: Many tools like Photoshop or MidJourney allow you to set fixed dimensions from the beginning.
- Use padding instead of stretching: When uploading artwork to platforms, it’s often better to leave black bars around the original dimensions than distort the image.
- Keep proportions consistent: If you’re resizing, enable settings like “Maintain Aspect Ratio” in your software tool.
When creating art, the last thing you want is to lose the elements that make your project unique. Taking these steps guarantees the integrity of your work remains intact.
Resolution Considerations
Here’s something many people overlook: aspect ratio and resolution are deeply interconnected. A mismatch doesn’t just alter the proportions—it can wreck the quality of your final image.
For instance, creating a 1920×1080 design—perfect for a 16:9 ratio—won’t look sharp if stretched to fit a 4:3 display. This discrepancy can result in blurry details, pixelation, or jagged edges that ruin the overall vibe of your project.
To make sure resolution works with your chosen aspect ratio:
- Match resolution and ratio: Use presets like 1280×720 for a 16:9 layout, 1080×1440 for a 3:4 frame, or standard resolutions that include the 5:4 aspect ratio.
- Avoid upscaling small images: Increasing resolution to fit larger frames reduces clarity.
- Stick with standard resolutions: Many software tools default to common aspect ratio resolutions, so rely on these settings whenever possible.
Common Challenges with Presentation Platforms
When transitioning visuals onto different platforms, certain problems arise:
- Black bars: Often seen when presenting a 16:9 image on a 4:3 monitor.
- Cropping mishaps: Platforms like Instagram or TikTok automatically crop visuals to fit their preferred dimensions (e.g., 1:1 or 9:16). Make sure to prep your images to avoid losing vital parts. This article on aspect ratio challenges explains ways to navigate such hiccups.
By focusing on these troubleshooting steps, you’ll not only fix problems but also elevate the quality of your MidJourney projects.
To Wrap This All Up
When wrapping up the topic of Midjourney aspect ratio in your projects, it’s essential to recapture the value and practical application of everything you’ve learned. The aspect ratio isn’t just a technical detail; it’s a creative decision that shapes the viewer’s experience, highlights your subject matter, and aligns your work with its intended platform. Let’s explore a few key thoughts to keep in mind as you finalize your choices.
Keep the Purpose in Mind
Every project has a purpose, and its aspect ratio should support it. Are you crafting a piece for a social media post, a cinematic experience, or a physical print? Matching the ratio to the goal helps enhance the impact of your final output. For instance:
- Social media content: Platforms like Instagram Stories thrive on the 9:16 aspect ratio.
- Cinematic visuals: The 16:9 aspect ratio brings drama and depth to your scenes.
- Print projects: Ratios like 3:2 suit posters or traditional photographs.
Your audience is always at the center of this decision. Ask yourself, what are you aiming to convey? Let that guide your choice.
For more insights on making these connections, check out this guide to MidJourney aspect ratios.
Simplify the Technical Details
Don’t let the technical side feel overwhelming. MidJourney offers intuitive commands like --ar to adjust your ratios effortlessly. Whether you’re a beginner or a seasoned creator, incorporating these into your workflow saves time and boosts creativity.
Here are a couple of practical tools to start using today:
- Experiment with default settings like 1:1 or 16:9 to see what fits your project best.
- Use ratio presets to save yourself the guesswork and produce results quickly.
If you’re interested in trying these out, explore this step-by-step guide to changing aspect ratios.
Let Creativity Lead
Ratios are, at their core, a toolbox for your artistic expression. While rules and guidelines are helpful, don’t hesitate to break away and experiment. Sometimes the most memorable visuals come from trying unconventional formats or combining them creatively—especially when controlling focus and emotion to amplify your intent.
Why not see what happens when you push boundaries? Try mixing traditional approaches with something unique to push your projects to new heights. If you want some inspiration, this guide on using aspect ratios offers great examples of how ratios can elevate your storytelling.
When you’re wrapping up your work, remember: aspect ratios are there to serve your vision. Treat them as one of your many creative tools, not as a limiting factor. Ultimately, the right ratio is the one that delivers your message in the strongest way possible.
